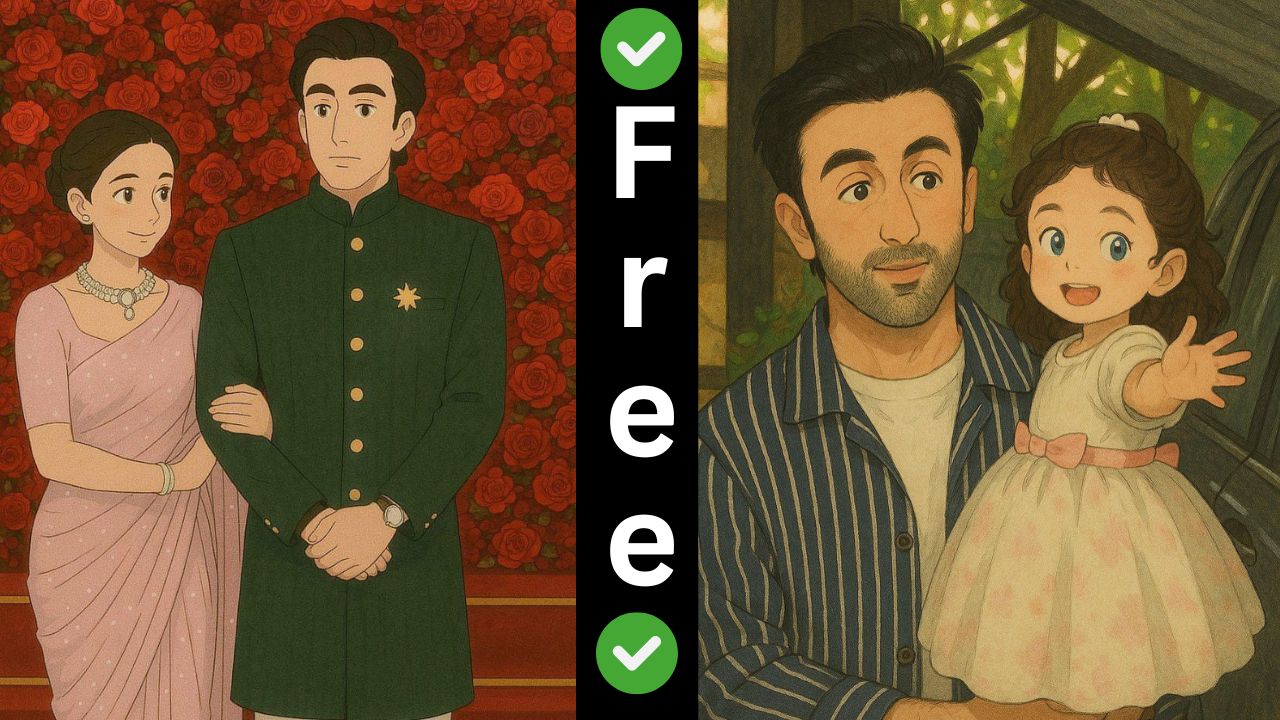
Creating a Ghibli-style image involves multiple steps, including choosing the right tools, understanding the art style, and using digital painting or AI techniques. Here’s a detailed guide to help you create Ghibli-inspired artwork:
Upload Your Image
Upload Your File
Step 1: Understanding the Ghibli Art Style
Before creating an image, you need to understand what makes Studio Ghibli’s art unique:
- Soft Color Palette – Pastel colors with warm and inviting tones.
- Hand-Painted Look – Watercolor-like shading and blending.
- Lush Environments – Beautiful landscapes filled with nature.
- Dreamy Lighting – Soft, natural light and atmospheric perspective.
- Expressive Characters – Simple, yet detailed facial expressions.
Step 2: Choose Your Tools
You can create Ghibli-style images using different methods:
1. Using AI Image Generators
- AI tools like Leonardo AI, Stable Diffusion, MidJourney, or Runway ML can generate Ghibli-style images.
- Prompts Example for AI: scssCopyEdit
Ghibli-style anime scene, hand-painted background, soft watercolor shading, detailed natural environment, warm sunlight, peaceful atmosphere. - Extra Prompt Tips:
- Use keywords like "detailed background," "Miyazaki-inspired," "soft pastel tones," "cinematic lighting."
- Adjust the aspect ratio (e.g., 16:9 for landscape, 4:3 for traditional anime shots).
2. Using Photoshop or Procreate (Digital Painting)
For a more hands-on approach, you can paint your own Ghibli scene.
Steps to Paint a Ghibli-Style Image
- Sketch the Scene:
- Use thin, delicate linework.
- If drawing a landscape, start with large shapes (mountains, trees, buildings).
- Base Colors:
- Use soft pastel colors (avoid neon or too dark colors).
- Ghibli backgrounds often use earthy tones and soft greens & blues.
- Shading & Textures:
- Apply soft shading (use watercolor or airbrush for blending).
- Add textures using a watercolor brush to give a hand-painted look.
- Lighting & Depth:
- Use atmospheric perspective (farther objects should be lighter and blurrier).
- Add a warm glow for a soft, dreamy feeling.
- Final Details:
- Add small details like leaves, clouds, or little magical elements.
- Keep colors slightly desaturated for realism.
3. Using 3D and Blender for Backgrounds
- Many Ghibli backgrounds are 3D modeled first and then painted over.
- You can use Blender to create a rough 3D model of a scene and then paint over it in Photoshop or Krita.
Step 3: Enhancing the Ghibli Feel
To make your artwork look even more Ghibli-like, follow these final touches:
✅ Add Grain & Texture:
- Use textured brushes for a traditional look.
- Slight film grain effect makes it feel nostalgic.
✅ Use Bright, Soft Lighting:
- Adjust glow & highlights to give a warm, sunlit feel.
✅ Blur & Depth Effects:
- Slight blur in the background makes objects pop.
- Use gradient fog or soft shadows to add depth.
Step 4: Export & Share
- Export in PNG/JPEG for high-quality output.
- If using AI-generated images, refine them in Photoshop or Krita.
- Share your work on platforms like ArtStation, DeviantArt, Instagram.
Conclusion
Creating a Ghibli-style image requires an eye for detail, soft shading, and a love for nature-inspired scenery. Whether you use AI, digital painting, or 3D, the goal is to capture the magic and warmth of Ghibli movies.
Would you like me to generate a Ghibli-style image using AI for inspiration? 🚀🎨
